如果免费资源下载的文件为TXT文档 请联系站长更新!站长微信:Lv596999 Telegram:@eapoj “Mql5官网”板块的EA基本都有,大部分是无限制NODLL版,NODLL版本MT1420升级,大多数不可用!这些EA来源为国外花钱买过来的 如有需要,请联系站长! “EA测评”板块资源全部现有,看见不错的,可以联系站长,看EA在确定是否收费。 “无限制EA”板块,大部分免费,下载文件全部存在,都可以免费下载。 站长硬盘EA太多,因大部分时间做交易,做风控,没太多时间更新下载地址,请谅解! 需要更新下载文件,请联系站长微信!国外朋友请联系Telegram。  |
Namiri Trade Engine is an ALL in ONE trading system that combines market structure, volume pressure, market condition & risk management to give you the BEST opportunities for A+ trade setups with auto lot size
WAIT FOR YOUR A+ SETUP || ONLY TAKE YOUR A+ TRADE || RINSE REPEAT YOUR A+ MOVE
Chart Features
- Panel – Shows the asset, market, price, pip, account, trade & profit|loss information
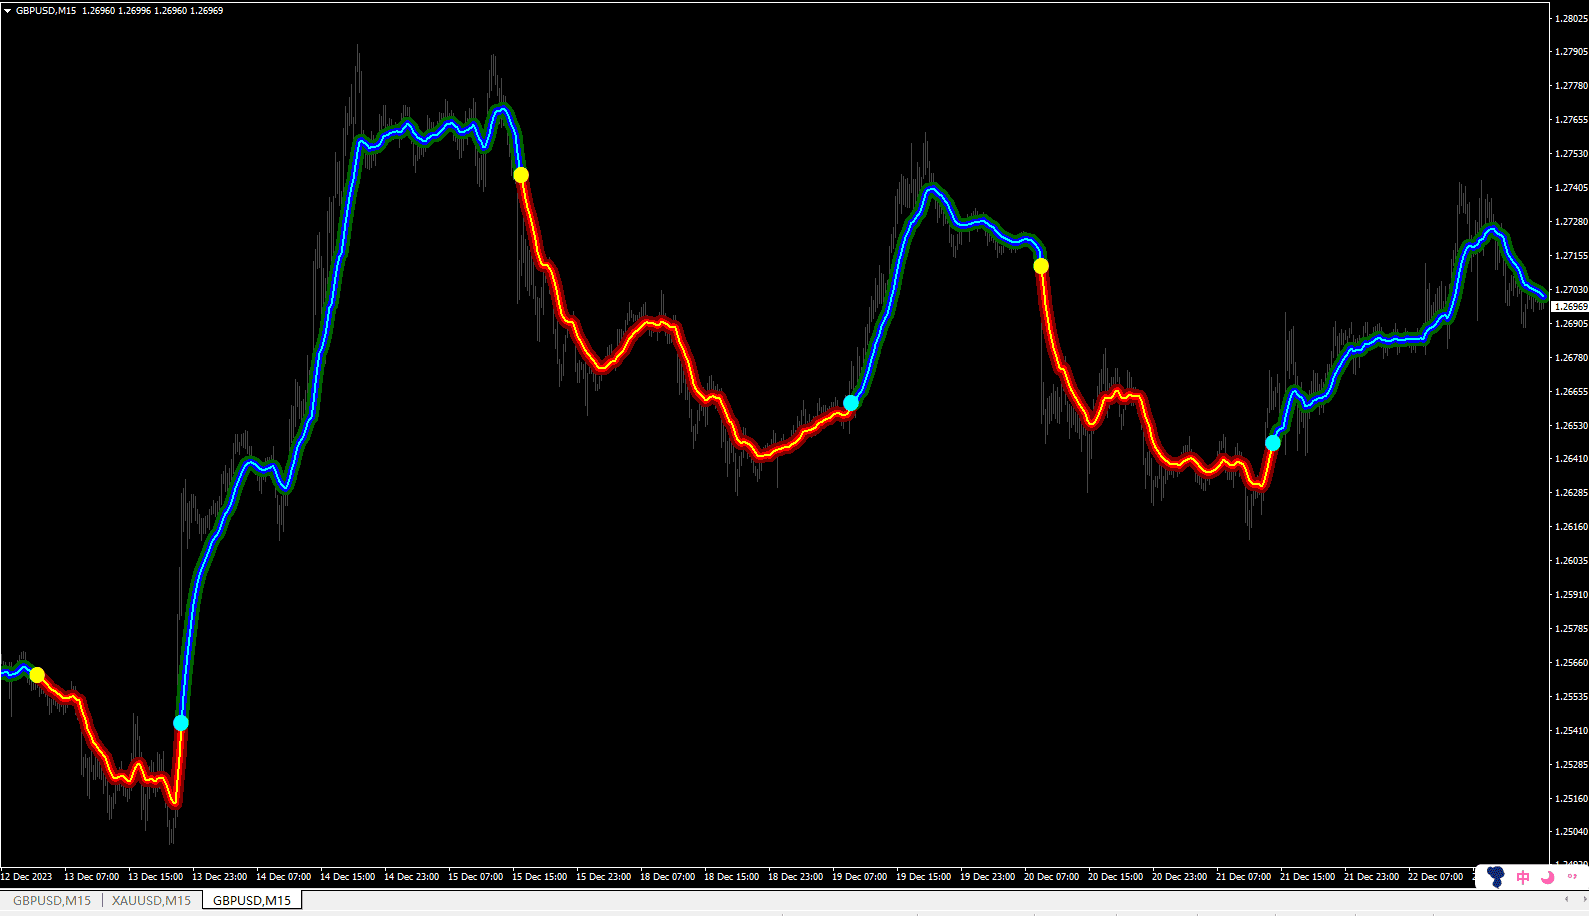
- Structure – Shows areas of support & resistance
- Risk Management – Shows risk analysis period of 100 bars, buy | sell entry zone as well as stop loss & take profit levels for a {1:2 risk:reward}
- Volume – Shows volume pressure bars of bulls & bears at the bottom of your chart
Panel Features
- Asset Info – Shows current time-frame, pair, contract is a buy|sell, leverage & lot size
- Market Info – Shows the current market condition
- Price Info – Shows bid|ask, entry, stop & target prices
- Pip Info – Shows range, spread, risk & reward in pips
- Account Info – Shows account balance, equity, free margin & active margin
- Trade Info – Shows the amounts of commission, swap, stop loss & take profits
- Profit | Loss – Shows the profit | loss on the active trade on that specific pair
Parameters
- Percent Risk – Default set to 0.2% risk per trade
- Trade Setups – Bounce | Breach | Strike { PICK ONE | MASTER ONE | TRADE ONE }
- Color Theme – Bullish | Neutral | Bearish | Buy Zone | Sell Zone
Trade Setups
STOP BEHIND STRONG BARRIER || WEAK TO NO BARRIER TO TARGET || VOLUME PRESSURE CONFIRMATION
- BUY Contract – Trade when a BUY ALERT is triggered for a bounce | breach | strike trade setups with a 10X spread minimum risk, ASK price MUST close inside the LONG entry zone based on BULLISH market info, entry at SUPPORT, bullish volume pressure clusters MUST be significantly STRONGER on the impulse LONG move inside the wire than other recent bullish & bearish volume pressure clusters both inside & outside the wire, A+ setup has a STOP BELOW a STRONG BARRIER & WEAK to NO BARRIER between your entry & target
- SELL Contract – Trade when a SELL ALERT is triggered for a bounce | breach | strike trade setups with a 10X spread minimum risk, BID price MUST close inside the SHORT entry zone based on BEARISH market info, entry at RESISTANCE, bearish volume pressure clusters MUST be significantly STRONGER on the impulse SHORT move inside the wire than other recent bearish & bullish volume pressure clusters both inside & outside the wire, A+ setup has a STOP ABOVE a STRONG BARRIER & WEAK to NO BARRIER between your entry & target
Things To Note
WHEN THE BULLS & BEARS FIGHT STAY OUT OR YOU WILL GET HURT
- Depending on the risk percentage, spread & leverage, the lot size is some cases are rounded up or down therefore your actual trade amounts may differ slightly;
- The stop loss & take profit dollar amounts shown under trade info are based on risk percentage plus hard stops and targets, therefore your actual trade amounts may differ slightly depending on your actual entry price, slippage, spreads & rounded lot size
- Please DO NOT just take each & every trade setup alert, MOST are low quality trade setup alerts because of NO volume pressure confirmations. First, pick one asset, one setup, one time frame. Secondly, ensure its an A+ setup that has been confirmed by the volume pressure & that you have tested, proven & traded on a demo account BEFORE a live account. Lastly, just rinse & repeat those A+ trade setups; Ignore all trade setup alerts during red news on M1 & M5 as they are high risk setups & are most likely false positives
TEST IT || PROVE IT || TRADE IT
Share comments & reviews
![图片[1]-Mql5官网 Namiri Trade Engine 外汇EA-EA侦探社 - 全球领先的MQL5官网外汇EA机器人MT4自动化交易EA资源免费分享网站](https://sp-ao.shortpixel.ai/client/to_webp,q_glossy,ret_img/https://www.mql5.vip/wp-content/uploads/2024/05/20240517233224-6647e908d2af2.png)
![图片[2]-Mql5官网 Namiri Trade Engine 外汇EA-EA侦探社 - 全球领先的MQL5官网外汇EA机器人MT4自动化交易EA资源免费分享网站](https://sp-ao.shortpixel.ai/client/to_webp,q_glossy,ret_img/https://www.mql5.vip/wp-content/uploads/2024/05/20240517233226-6647e90a6fad4.png)